After several weeks of toying with it, I have finally completed my click of NesJs for Ubuntu Touch. Now, when I say that in the geek community, they typically think by NesJs, that I mean the really big NesJs library [3] that was written in typescript and is used in dozens of projects, but I actually used a lesser known project by the same name, written in javascript by Angelo-wf [1].
I have a much larger, and, in my opinion, important project that I am working on, called "EveryBible". However, I am stuck on part of it, and needed to learn a little bit more about javascript, because that is part and parcel of using QML, as all the syntax are the same, and any QML functions are just javascript. So I decided to do some learning on the subject by working through/on a NES emulator for Ubuntu Touch, which was written in javascript. Why a NES emulator? Well, because it speaks to my childhood, having grown up with the good old Nintendo Entertainment System, it has a fond place in my heart.
To be really clear, Angelo-wf had already completely finished writing the NesJs emulator, and all credit for that goes to them. What I did, though, was edit small amounts of the code to facilitate it's use in Ubuntu Touch. For instance, one of the things I edited was the mirrored over-scan of the original emulator. Angelo-wf's work was very thorough... perhaps too much so, emulating the real output of the NES, which included a part of the display which was not shown on regular TV screens, an over-scan section which mirrored the opposite side of the display. This was not useful, though, for the emulator, because the canvas on which it is displayed does not hide the over-scanned portion. Thus I removed it with a simple hack:
Original: this.pixelOutput = new Uint16Array(256 * 240);
Edit:
  //this.pixelOutput = new Uint16Array(256 * 240);
  // Alaskalinuxuser - change from original, cut off the 8 lines on the bottom, to get rid of the bottom overscan.
  // read more about it here: https://www.nesdev.org/wiki/Myths#NTSC_picture_height
  this.pixelOutput = new Uint16Array(256 * 232);
Essentially, I just changed the pixel output array to have 8 less lines, effectively cutting off the bottom eight lines of the screen where the over-scan was. I made several edits for the battery save function as well (well, technically the problem was in the loadRom function), to enable battery RAM saving and created buttons for loading and saving the game state.
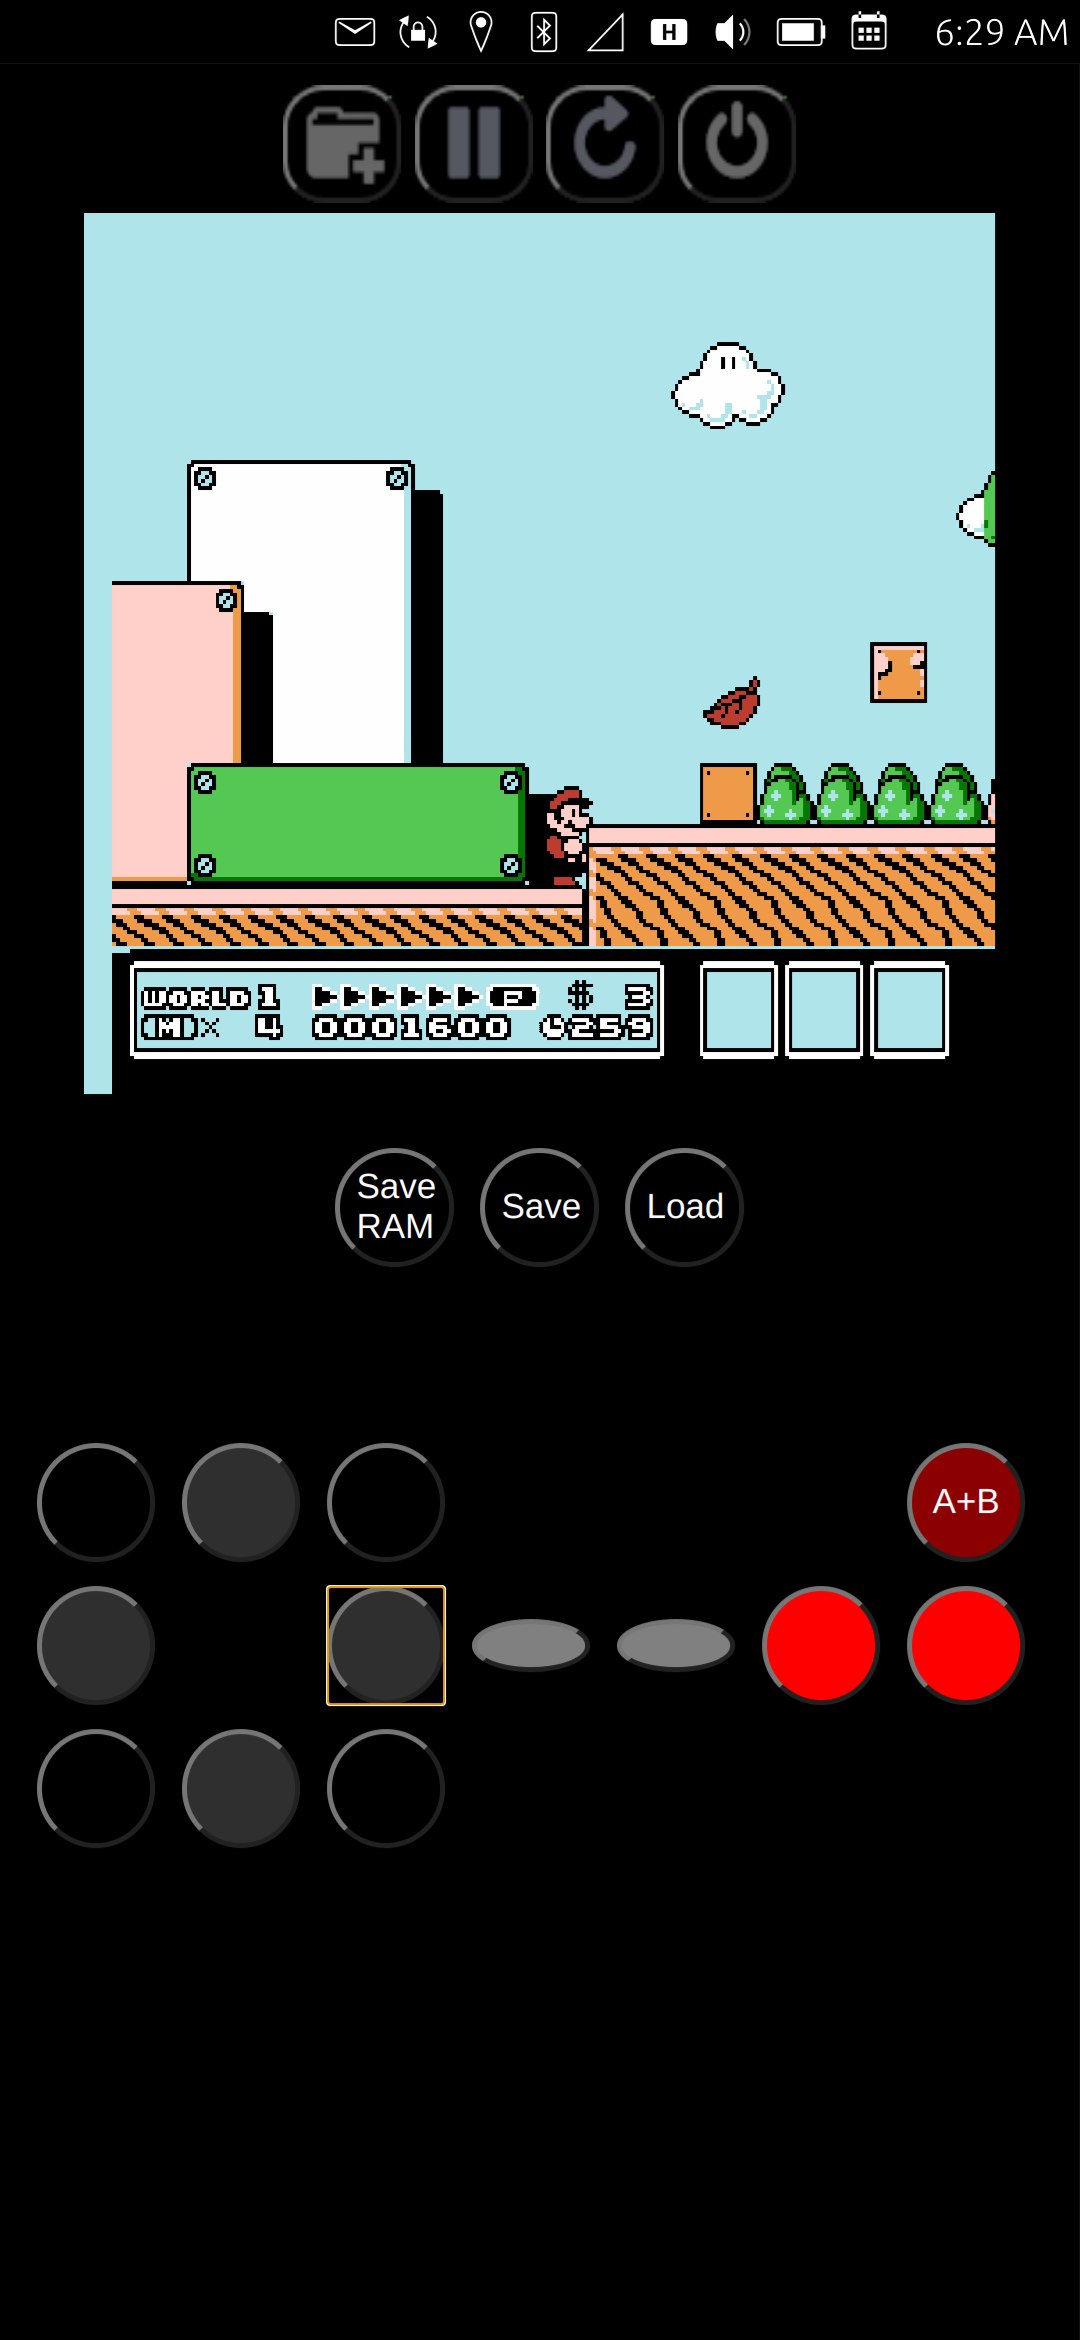
Of course, I also made the on screen game pad controller, which went through several iterations before I finally settled on one. It works well enough for most games, like Tetris, Final Fantasy, 1943, or even Super Mario Bros. titles. However, it is a bit clunky for intense button mashing games like SuperC. Principally because one has to "let go" of a d-pad button to push another, rather than just slide over another button. Originally I went a different direction, where once you touched the screen, you could slide your fingers across any button, and they would just work, however it dramatically slowed down the emulator, so I abandoned that approach.
I was able to test the emulator on my phone using a Bluetooth keyboard, which worked great! Unfortunately, I don't have any Bluetooth game controllers, so I couldn't test that function, and when I posted it for beta testing, no one chimed in, so I do not know if they work or not.
Either way, it was a fun, shorter project, where I learned quite a few things, and got a bit of help from the Ubuntu Touch community for things I did not understand. I can only praise God that the final product works and is quite playable. You can always check out the code on my repo [2], which is licensed under an MIT license, as the original NesJs project was also licensed that way as well, most likely so it could be used as a library in another project.
Linux - keep it simple.
[1] https://github.com/angelo-wf/NesJs [2] https://gitlab.com/alaskalinuxuser/ut_nesjs [3] https://nesjs.netlify.app/